Northern Exposure Presets
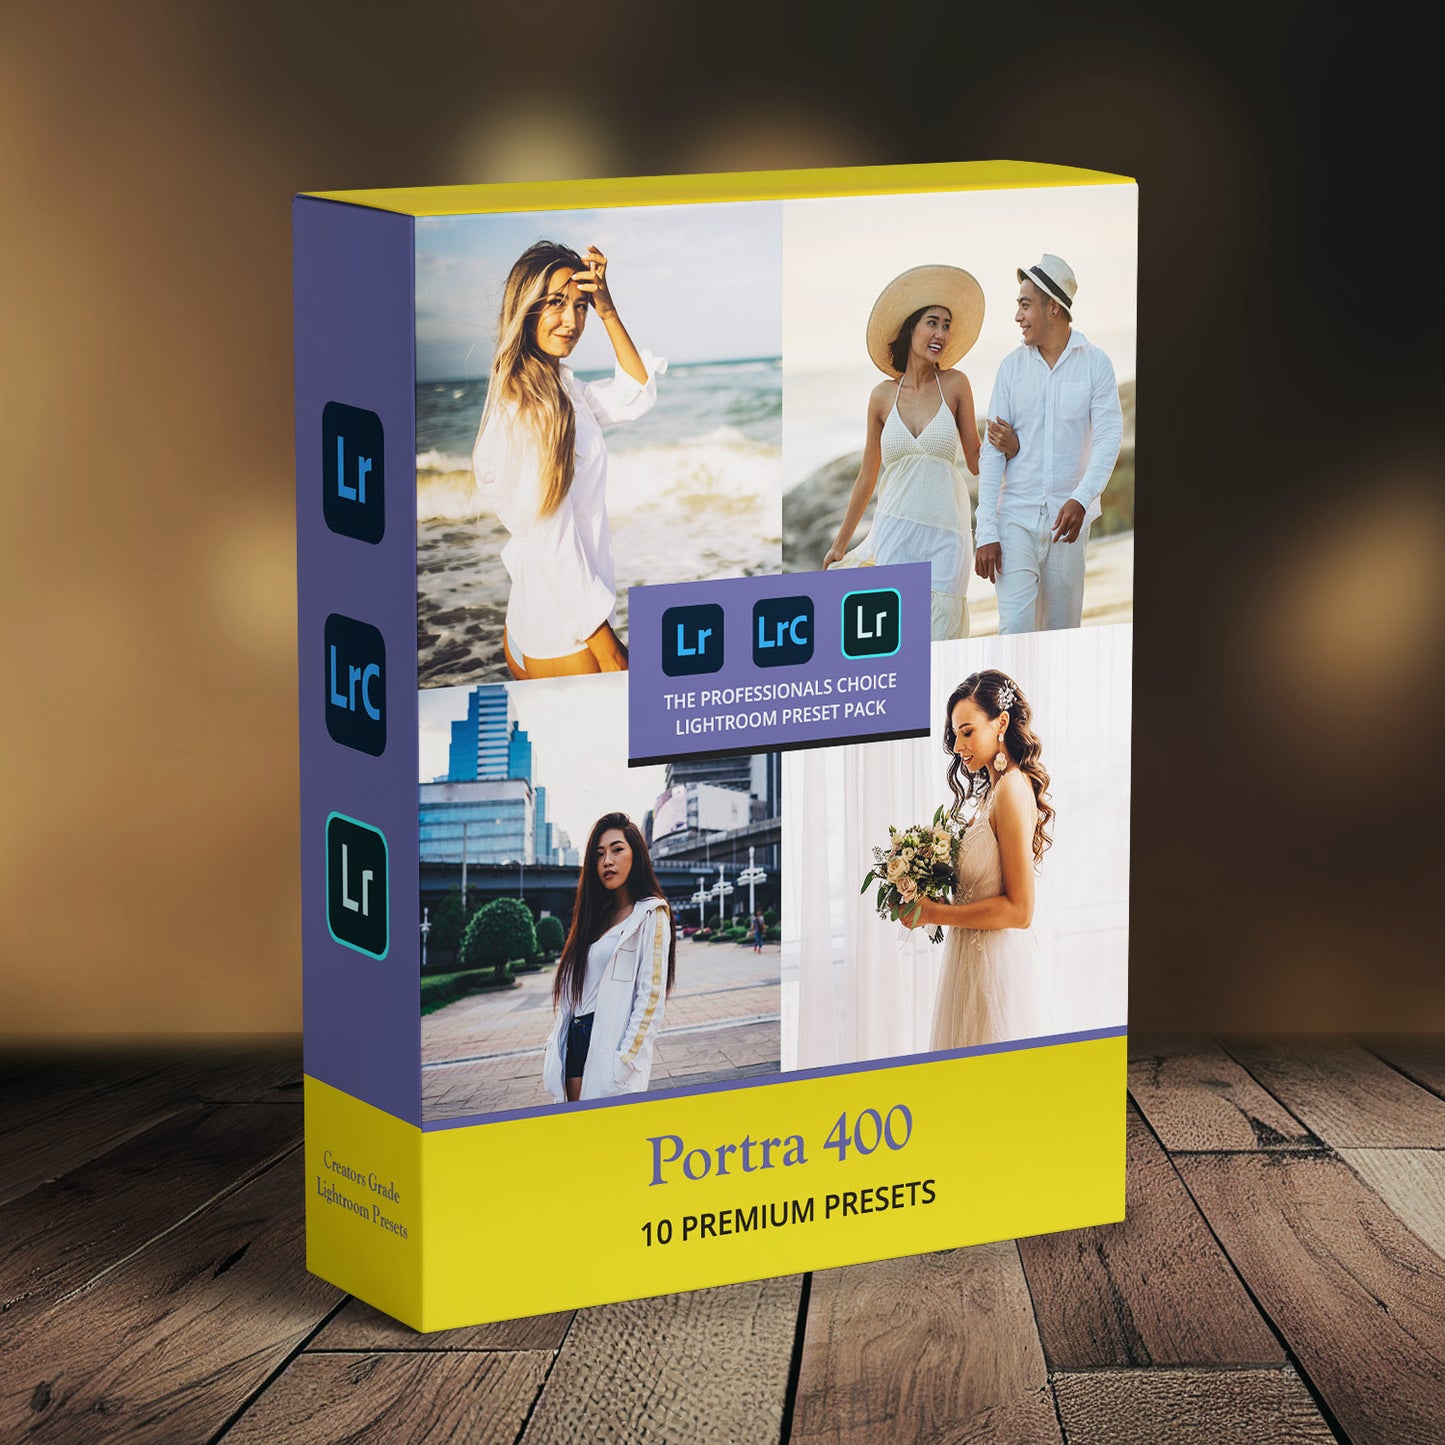
Porta 400 Preset Pack - VSCO and Kodak Style Presets
Porta 400 Preset Pack - VSCO and Kodak Style Presets
Couldn't load pickup availability
Explore. Capture. Inspire
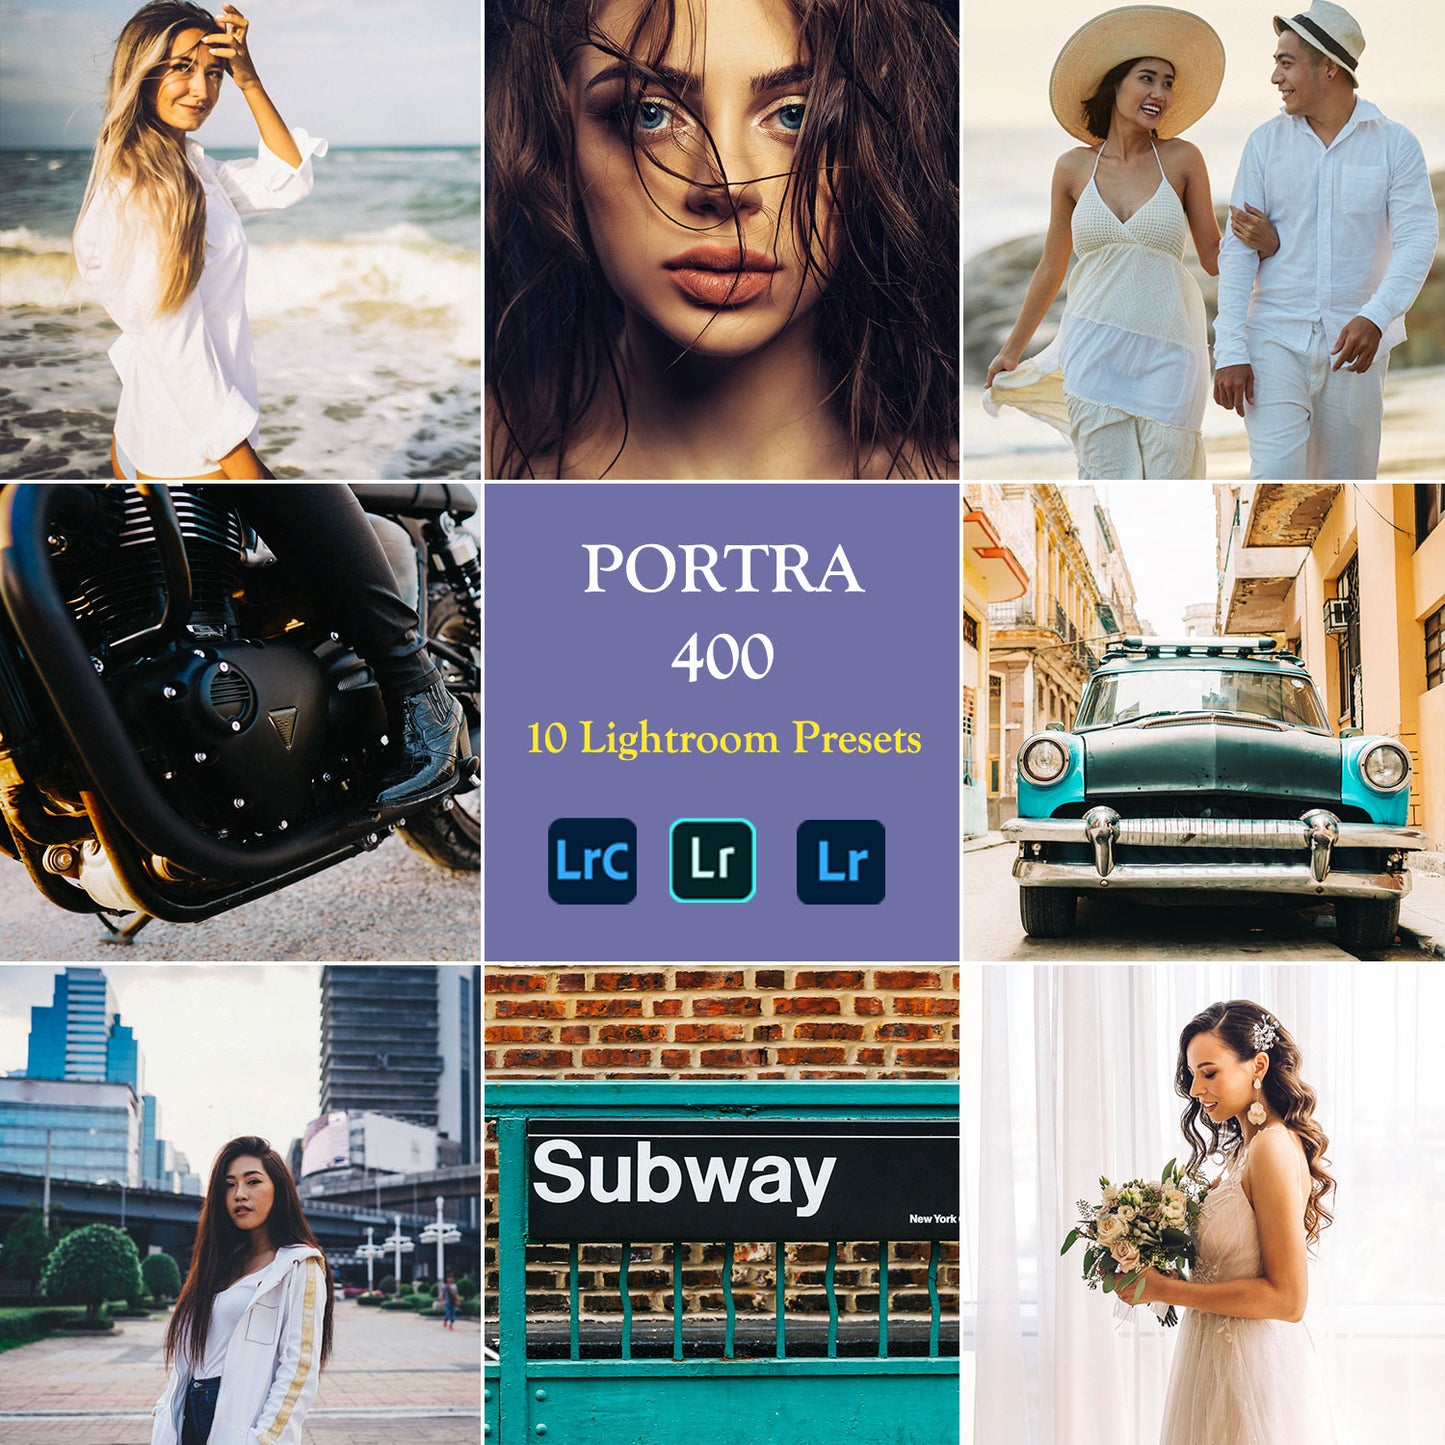
10 x Portra 400 Style Lightroom Presets, curated, refined and tested by portrait photographers and professionals.
Kodak Portra 400 film was a favorite among portrait and wedding photographers for its ability to capture beautiful skin tones and a touch of warmth, all while remaining versatile enough to handle various lighting conditions.
Plus, its fine grain structure ensures sharp images even when enlarged, making it ideal for capturing all the precious details.
That favorite is brought to digital life here in the form of a comprehensive collection of Lightroom Presets.
These Lightroom Presets are primarily geared towards blues, greens and skin tones to bring the classic Portra touch to your portraits and landscape photos.
Take a look at some before and after sliders below:


This package consists of the following Lightroom Presets:
- Portra 400 I
- Portra 400 II
- Portra 400 III
- Portra 400 IV
- Portra 400 V
- Portra 400 VI
- Portra 400 VII
- Portra 400 VIII
- Portra 400 IX
- Portra 400 BW
Want to add more depth to an image? push the highlights a little more? pull in the contrast a little? Then you're all set because all of the above can be individually adjusted once applied to your images to refine them further.
What is a Lightroom Preset ?
What is a Lightroom Preset ?
Imagine you're baking a cake. You wouldn't just throw all the ingredients into the oven and hope for the best, right? You'd follow a recipe with specific measurements and instructions to ensure a delicious outcome.
A Lightroom preset is like a recipe for your photos. It's a saved set of adjustments (think ingredients and mixing times) that you can apply with a single click, transforming your image from raw dough to a mouthwatering masterpiece (or at least, a more visually appealing photo!).
The Northern Exposure Lightroom preset packs contain several styles and grading which can be applied to your images on both mobile/tablet and desktop.
Why would I want to use them ?
Why would I want to use them ?
1. Saves Time: Just like using a cake mix is faster than measuring and sifting flour yourself, presets save you the hassle of manually tweaking every setting in Lightroom. This is especially helpful when editing batches of photos, like vacation snaps or wedding portraits.
2. Consistent Style: If you love a certain look for your photos, like warm and airy for travel shots or moody and dramatic for portraits, presets help you achieve that style consistently. It's like having a signature baking style for all your cakes!
3. Starting Point: Even if you're a pro editor, presets can be a great starting point. You can customize them to your liking, like adding sprinkles or adjusting the frosting on your cake, to create the perfect final edit.
4. Inspiration and Learning: Trying out different presets can expose you to new editing techniques and color palettes. It's like browsing a recipe book and getting inspired to experiment with new flavors and techniques in your baking.
5. Easy to Use: Applying presets is as simple as clicking a button. No need to understand all the technical jargon about exposure, contrast, and white balance. It's like using a pre-measured scoop for your flour – quick, convenient, and foolproof!
Remember, presets are just tools. The real magic comes from your creativity and understanding of light and composition. But they can definitely be a helpful ally in your photo editing journey, making it faster, more efficient, and even more enjoyable.
What software do they work on ?
What software do they work on ?
When you purchase a preset pack, you will get DNG files for mobile use and XMP files for desktop use.
The software compatibility of DNG and XMP are:
DNG Presets:
- Lightroom Mobile: These work exclusively on the Lightroom mobile app (both iOS and Android). They apply the editing adjustments by embedding them within the DNG image file itself.
- Limited Desktop Compatibility: Some specialized software may be able to import and apply DNG presets, but not as broadly as XMP.
XMP Presets:
- Lightroom Classic: These are the native format for presets in Lightroom Classic (desktop version). They work seamlessly within the Develop module, applying adjustments directly to the photo data.
- Lightroom CC: These also work in Lightroom CC (older desktop version) though their functionality might be limited compared to Classic.
- Limited Mobile Compatibility: While XMP presets don't directly work in Lightroom Mobile, you can import them into Lightroom Classic and then sync them to the mobile app through the cloud if you have a Creative Cloud subscription.
What am I actually buying ?
What am I actually buying ?
When you purchase any Preset pack, you will immediately receive a download package via email.
In this download, you will see installation instructions as well as the XMP (Lightroom Classic and Lightroom CC Compatible) and DNG (Lightroom Mobile plus Lightroom Classic and CC) files. The download also contains a Zip folder of each file set (we include these for ease of backing up - we recommend you pop these zip files somewhere safe).
Simply follow the instructions to install on Lightroom Mobile, Lightroom Classic or Lightroom CC.
If you get stuck, simply email us at sales@northernexposurepresets.com.
How do I install them ?
How do I install them ?
Every purchase contains full installation instructions but if you're curious ahead of time (also check out the tab below this one too for a free sample to test).
----
Lightroom Classic and Lightroom CC
Installing XMP (recommended – you can use DNG files too if
you like/prefer)
Lightroom Classic
Installing Lightroom
XMP presets on Lightroom Classic for your PC or Mac requires a few
simple steps:
1. From the files that
you download you can use the XMP files that are in the folder (the ZIP files
are for your ease of backing up you don’t need them for installation).
2. Launch Lightroom
Classic:
Open Lightroom Classic
on your computer.
3. Import the Presets:
Method 1 (recommended):
Using the Import Dialog
Go to File > Import
Profiles & Presets or in the Preset pane in the Develop Module, click the
plus icon at the top and select Import Presets
In the Import dialog,
browse to the folder containing the XMP presets.
Select the presets you
want to import.
Click Import.
Method 2: Moving
Presets Manually (PC)
Locate the preset
folder on your computer (usually C:\Users\[username]\AppData\Roaming\Adobe\Lightroom\Develop
Presets).
Copy the XMP preset
files to your clipboard.
Paste them into the
preset folder.
Method 2: Moving
Presets Manually (Mac)
Locate the preset
folder on your computer (usually /Users/[username]/Library/Application
Support/Adobe/Lightroom/Develop Presets).
Copy the XMP preset
files to your clipboard.
Paste them into the
preset folder.
4. Access the Presets:
Open the Develop
module in Lightroom Classic.
Click the Presets
panel on the left side.
You'll find the newly
imported presets in their respective folders or categories.
5. Apply the Presets:
Select a photo you
want to edit.
Click on the desired
preset to apply it.
Adjust the preset's
intensity if needed using the slider.
Additional Tips:
Restart Lightroom
Classic if the presets don't appear immediately.
Organize your presets
into folders within Lightroom for easier management.
Experiment with
different presets to find your favourites.
Customize presets to
create your unique looks.
Use presets as a
starting point and fine-tune them for each photo.
Lightroom CC
Go to File > Import
Profiles & Presets or in the Preset pane in the Develop Module, click the
plus icon at the top right and select Import Presets
In the Import dialog,
browse to the folder containing the XMP presets.
Select the presets you
want to import.
Click Import.
Lightroom Mobile
Installing DNG
files (DNGs are the only
option on LR Mobile)
Installing Lightroom
DNG presets on your mobile requires a few simple steps:
1. Download the DNG
Presets:
From your purchase
download the DNG files to your iPhone, Android or other mobile.
You can save them to
your Camera Roll, iCloud Drive (for iPhone), Downloads, Files, Gallery
(android) or any cloud storage app like Dropbox or Google Drive.
2. Import the DNG
Presets into Lightroom Mobile:
Open the Lightroom
Mobile app on your mobile.
Tap the "+"
button in the bottom navigation bar (iphone) or the three dots in the top right
(Android).
Select "From
Camera Roll" (if saved to your phone) or navigate to your chosen cloud
storage and select the folder containing the DNG presets. (iphone) or Import
Presets (android)
Tap on the DNG files
you want to import. You can select multiple files at once.
When prompted, choose
"Create Preset" for each DNG file.
3. Use the Imported
Presets:
Your newly imported
presets will be available in the "Presets" tab within the Lightroom
Mobile app.
Open a photo you want
to edit.
Select the
"Presets" tab and go to the "Yours" section.
You'll see your
imported presets listed under "User Presets."
Tap on a preset to
apply it to your photo.
You can further
customize the editing by adjusting individual settings within the
"Edit" module if desired.
Additional Tips:
Organize your presets:
Create folders within the "User Presets" section to categorize your
presets for easier browsing.
Delete unwanted
presets: Long press on a preset in the "User Presets" section and tap
"Delete."
Adjust preset
strength: Use the slider at the bottom of the presets panel to adjust the
intensity of the preset effect.
By following these
steps, you can easily install and use DNG presets to streamline your mobile
photo editing and achieve stunning results with just a few clicks. Enjoy
experimenting and expressing your creativity!
Remember
If you get stuck –
just email us at sales@northernexposurepresets.com
Can I test a sample Download ?
Can I test a sample Download ?
We remember the first time we purchased presets online, its not always fun to install products if you're new to Lightroom and it's products.
Therefore, we have created a simple sample Black and White preset to mimic the purchase process you will experience once you purchase one of our preset packs.
Feel free to download it and learn how to install a preset before you commit to buying a preset pack. Our preset packs are formatted the same as all other preset packs so feel free to jump onto YouTube if you need more help (after you read the instructions above of course).
Will my Photos look Cool ?
Will my Photos look Cool ?
I mean, do you really have to ask ;)
Share


